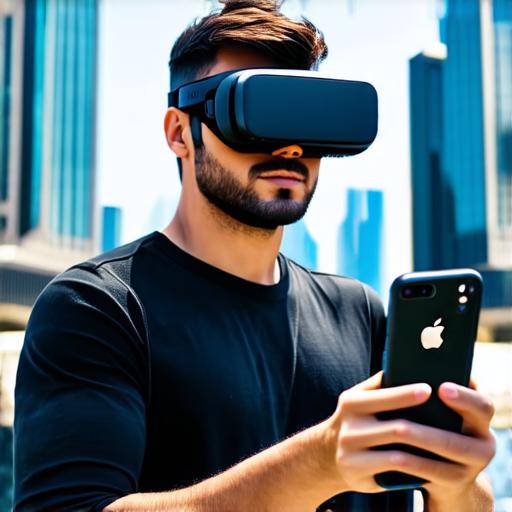
Augmented reality (AR) is a technology that overlays digital information onto the real world. With AR, you can enhance your experience of the physical world by interacting with virtual objects and environments in real-time.
In this article, we will explore how to implement AR on an iPhone. We’ll cover everything from setting up your development environment to creating AR experiences that engage and delight your users.
Setting Up Your Development Environment:
The first step to implementing AR on an iPhone is to set up your development environment. This involves installing the necessary software and tools to create and deploy AR applications. Here are the steps you need to follow:
- Install Xcode: Xcode is Apple’s integrated development environment (IDE) for macOS, iOS, watchOS, tvOS, and iPadOS. It includes a range of tools and features for developing AR applications, including the ARKit framework.
- Create a new ARKit project in Xcode: Once you have installed Xcode, you can create a new ARKit project by selecting “ARKit” as the template when creating a new iOS app. This will give you a basic structure for your AR application, including a ViewController that serves as the entry point for your AR experience.
- Choose an AR framework: ARKit is Apple’s official AR framework, but there are also other frameworks available that you can use to create AR experiences on an iPhone. Some popular options include Vuforia and Wikitude.
- Set up your hardware: To develop AR applications for the iPhone, you will need a physical device running iOS 11 or later. You will also need a computer with a Mac Pro or iMac to run Xcode and develop your AR application.
- Test your environment: Before you start developing your AR application, it’s important to test your development environment to ensure that everything is working properly. This includes checking your device’s hardware and software specifications, as well as testing the AR framework you are using.
Creating Your AR Experience:
Now that you have set up your development environment, it’s time to start creating your AR experience. Here are some key steps to follow:
- Define your use case: The first step in creating an AR experience is to define the use case or problem that you want to solve. This will help you determine what type of AR technology you need and how you can best implement it.
- Choose your AR content: Once you have defined your use case, you will need to choose the AR content that you want to include in your experience. This could include virtual objects, animations, or other interactive elements.
- Design your user interface: The user interface (UI) of your AR experience is critical for ensuring that users can interact with and understand the AR content. This includes designing buttons, menus, and other UI elements that allow users to navigate through your AR experience.
- Develop your AR logic: The AR logic is the code that controls how the AR content behaves in response to user inputs and interactions. This could include things like detecting when a user points their device at an object or surface, triggering animations or other interactive elements, or tracking the movement of virtual objects.
- Test and refine: Finally, it’s important to test and refine your AR experience to ensure that it is engaging, intuitive, and easy to use. This includes testing your experience on different devices and in different environments, as well as collecting feedback from users to identify areas for improvement.
Real-Life Examples:

There are many real-life examples of AR experiences being used to enhance the user experience of mobile applications. Here are a few examples:
